Jennifer Farley is an Irish designer and design instructor based in Dublin. Her blog on Laughing Lion Design features Photoshop tips, tricks and tutorials. Here's a new Photoshop tutorial from her.
Photoshop Tutorial: How To Create An Action To Watermark Your Images
Adding a watermark to your images can help (but not completely alleviate) theft of your photographs or images. In this tutorial, I’m going to show you how to add a simple watermark in Photoshop, align it to the bottom right corner and at the same time create an action that you can reuse for all of your images.
Open up your image that you want to add the watermark to. Now before going any further I want to create a new action that will record the following steps. Open the Actions palette by choosing Windows > Action or press Alt + F9 (win) or Opt + F9.
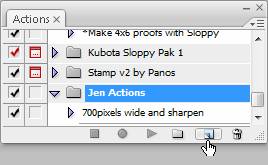
At the bottom of the Actions palette, click on the New Action icon. This will open up the New Actions dialog box. Enter a name for your new action – the obvious one here is Watermark – simple and descriptive. If you want to add your own shortcut key, you can also add that in here. Click Record. Now Photoshop is recording every step you make.
Select the text tool and click anywhere on the image. Add whatever text you want, usually something like © and your name or your website address. Set the size of the font and the colour. I’m using white, size 32pts.

I like to put my watermarks in the bottom, right corner. To do this, select both the text layer AND your background image layer in the Layers palette. Now at the top of the screen in the Options bars, click on the Align Bottom Edges icon and then click on the Align Right Edges icon. You’ll see that the text you’ve added drops to the bottom right corner of your image.
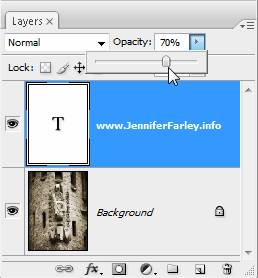
Usually a watermark is a semi-transparent image or piece of text so to change the opacity of the watermark, select just the text layer in the Layers palette. Then click and drag the Opacity slider to about 70% (or a lower number if you prefer how that looks).

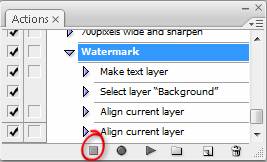
That’s the watermark added and put in place. Now we can stop recording our actions. At the bottom of the Actions palette, click on the stop button. You’ll be able to see all the steps you made listed under the “Watermark” action that you’ve just created.
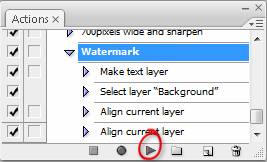
The next time you want to add a watermark, all you need to do is open your image and the click on the “Watermark” action in the Actions palette and click the Play icon at the bottom. A good timesaver.
Share This


Subscribe Here

0 nhận xét:
Post a Comment